02-前端本地部署运行
1. 必备环境
1、VSCode
2、Node 16.16.0
3、用户中心前端代码 链接
2. 下载前端需要的依赖
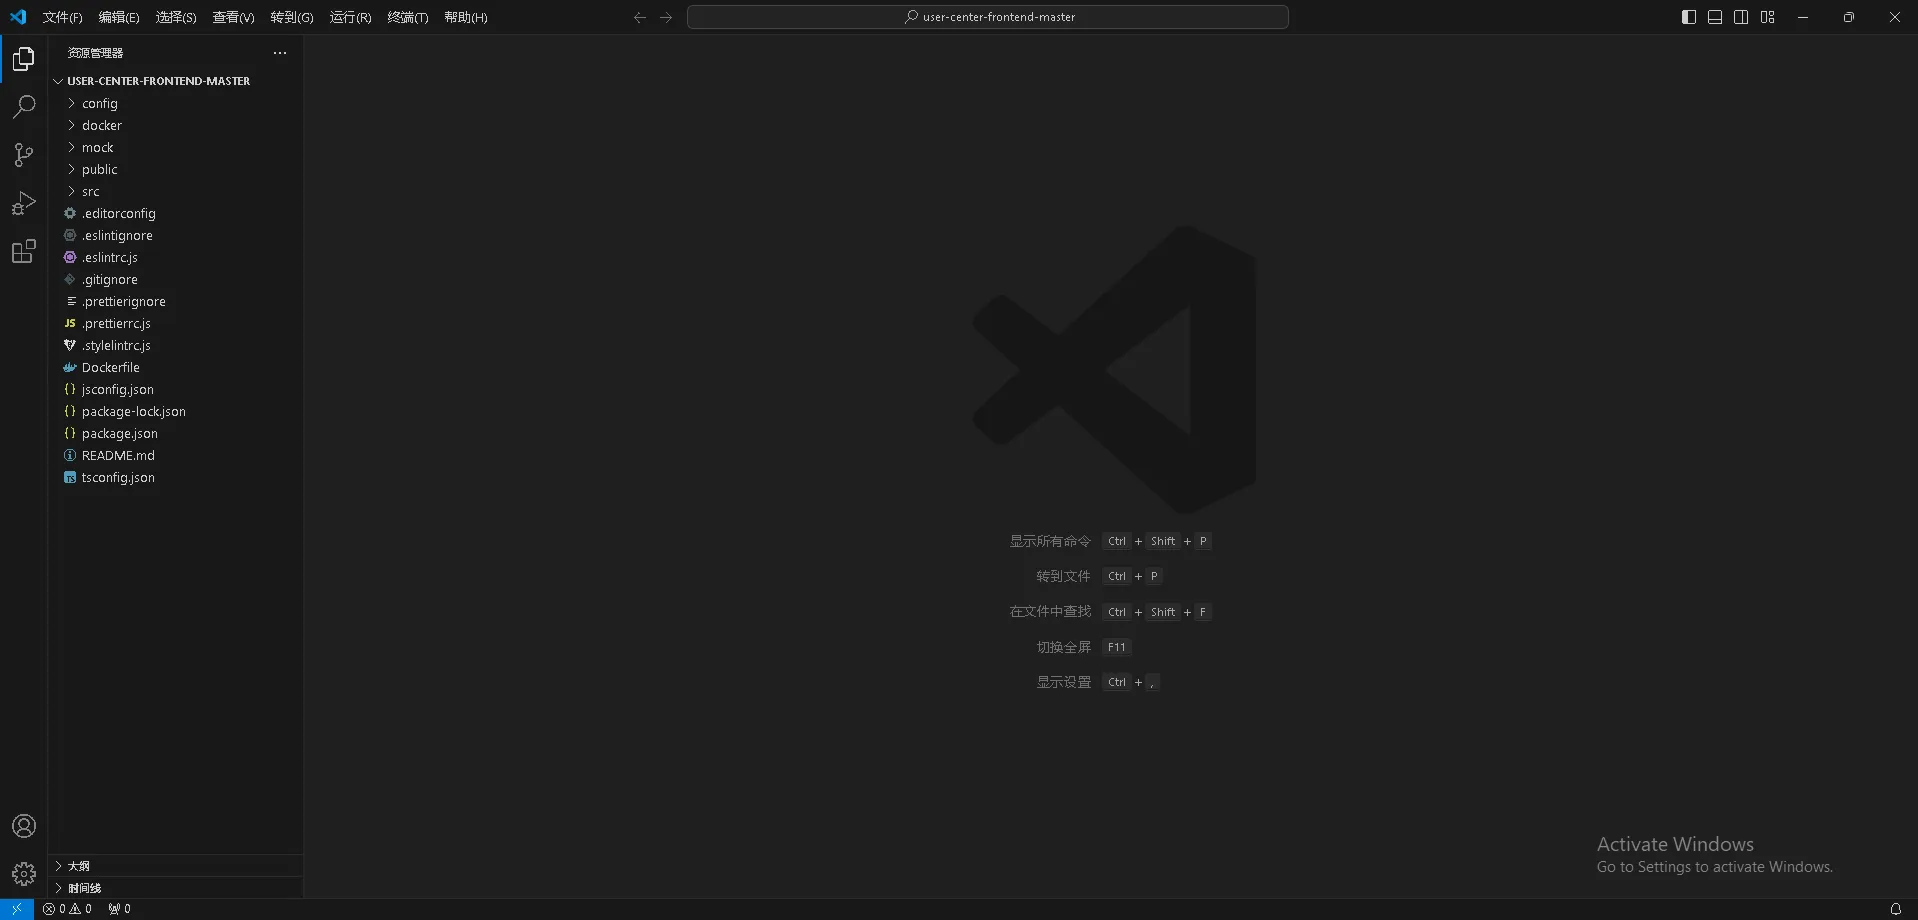
使用 VsCode 打开前端项目
打开 终端
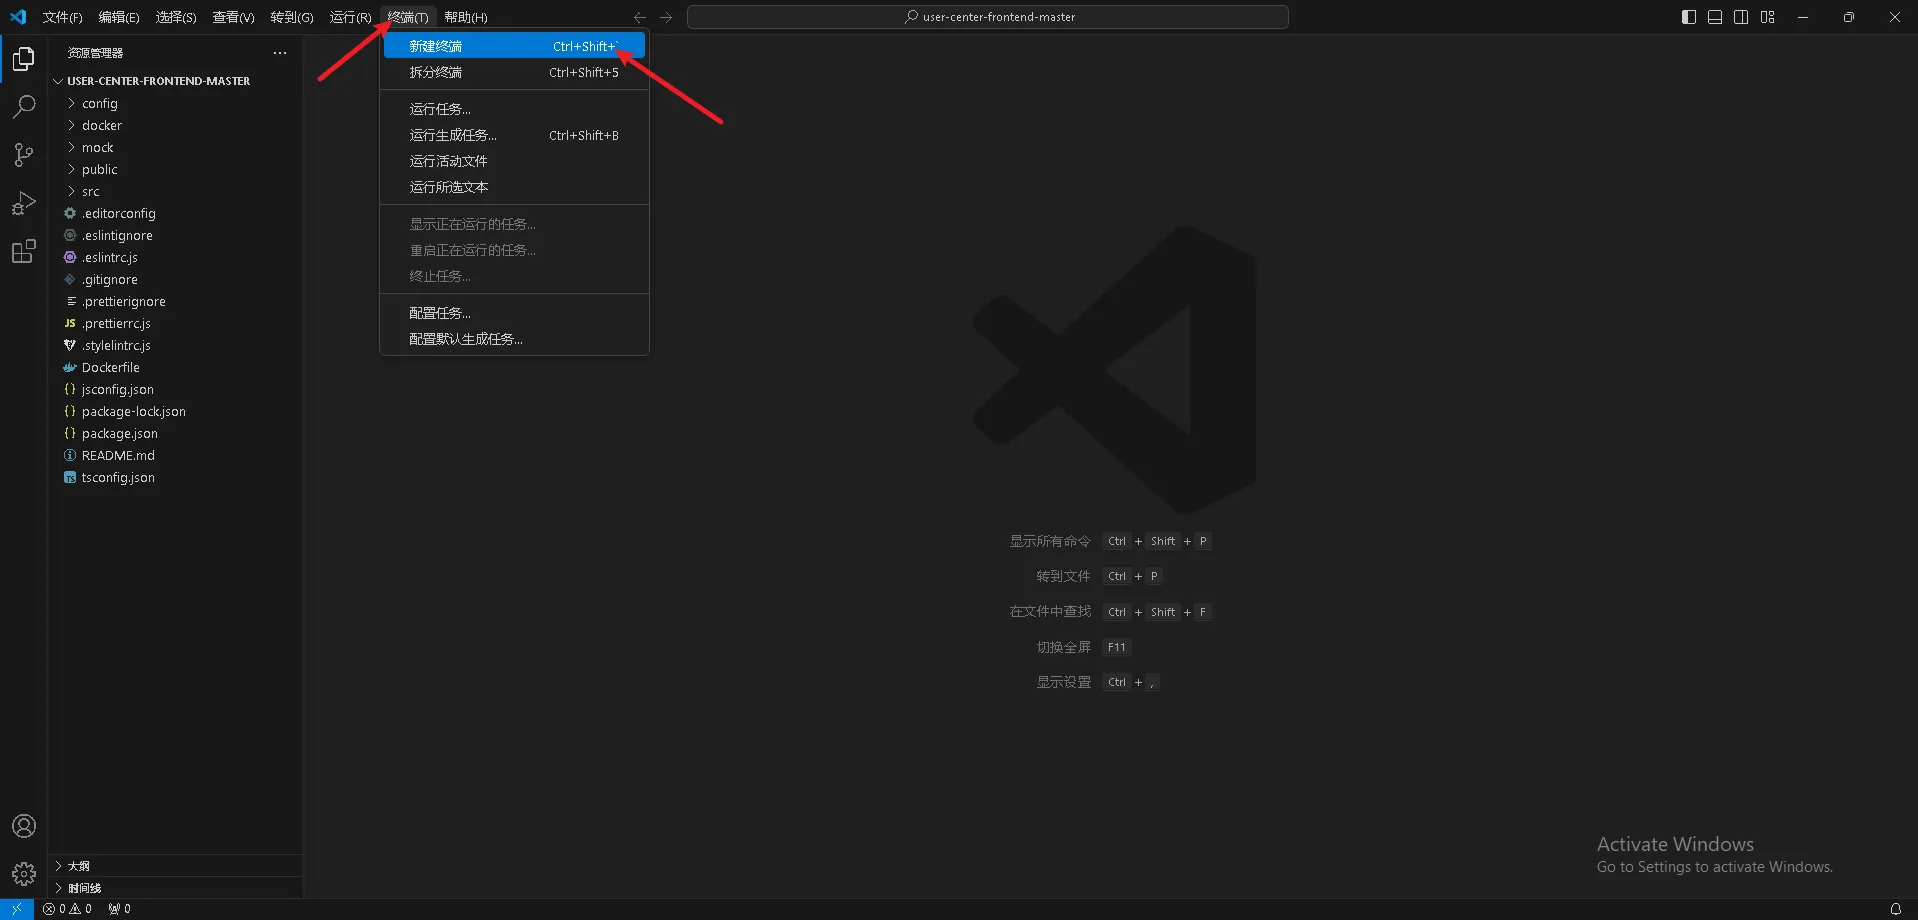
输入命令
npm install
注意:
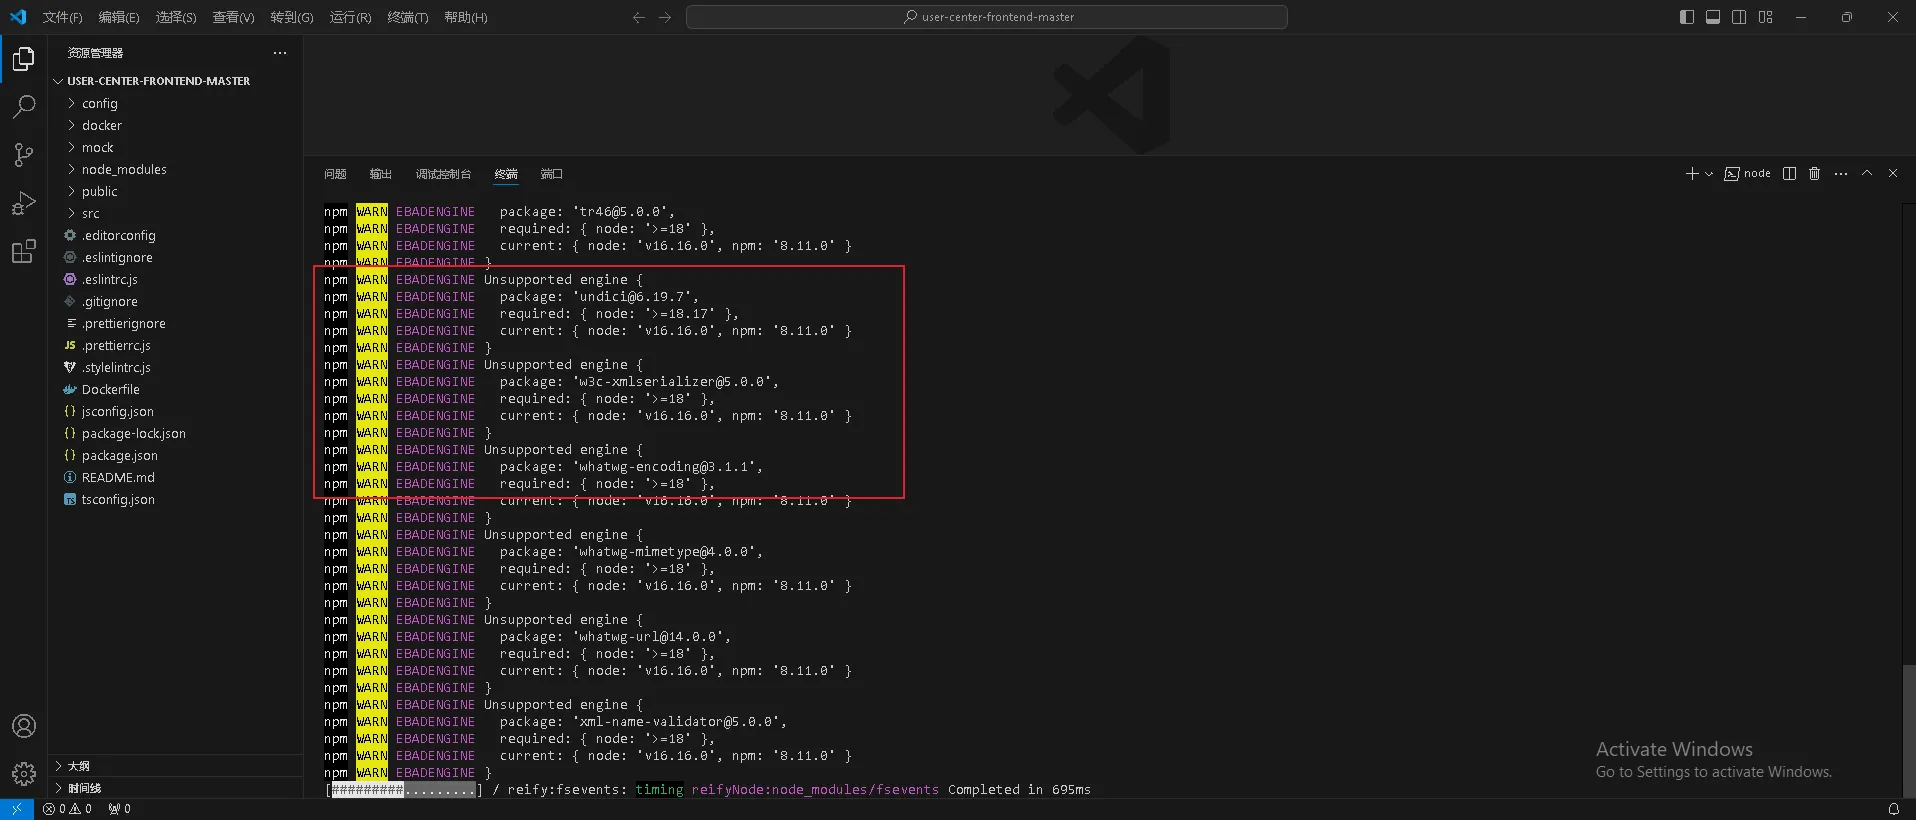
执行过程中,WARN 都不是报错,不影响后面正常启动前端
安装成功后的效果

3. 运行前端
在 终端 下输入
npm run start:dev
如果想要使用 mock ,找到 pakage.json 里面的 start
  "scripts": {
    "analyze": "cross-env ANALYZE=1 umi build",
    "build": "umi build",
    "deploy": "npm run build && npm run gh-pages",
    "dev": "npm run start:dev",
    "gh-pages": "gh-pages -d dist",
    "i18n-remove": "pro i18n-remove --locale=zh-CN --write",
    "postinstall": "umi g tmp",
    "lint": "umi g tmp && npm run lint:js && npm run lint:style && npm run lint:prettier && npm run tsc",
    "lint-staged": "lint-staged",
    "lint-staged:js": "eslint --ext .js,.jsx,.ts,.tsx ",
    "lint:fix": "eslint --fix --cache --ext .js,.jsx,.ts,.tsx --format=pretty ./src && npm run lint:style",
    "lint:js": "eslint --cache --ext .js,.jsx,.ts,.tsx --format=pretty ./src",
    "lint:prettier": "prettier -c --write \"src/**/*\" --end-of-line auto",
    "lint:style": "stylelint --fix \"src/**/*.less\" --syntax less",
    "openapi": "umi openapi",
    "playwright": "playwright install && playwright test",
    "prepare": "husky install",
    "prettier": "prettier -c --write \"src/**/*\"",
    "serve": "umi-serve",
    这个 -> "start": "cross-env UMI_ENV=dev umi dev",
    "start:dev": "cross-env REACT_APP_ENV=dev MOCK=none UMI_ENV=dev umi dev",
    "start:no-mock": "cross-env MOCK=none UMI_ENV=dev umi dev",
    "start:no-ui": "cross-env UMI_UI=none UMI_ENV=dev umi dev",
    "start:pre": "cross-env REACT_APP_ENV=pre UMI_ENV=dev umi dev",
    "start:test": "cross-env REACT_APP_ENV=test MOCK=none UMI_ENV=dev umi dev",
    "test": "umi test",
    "test:component": "umi test ./src/components",
    "test:e2e": "node ./tests/run-tests.js",
    "tsc": "tsc --noEmit"
  }
点击 scripts 上面的调试,找到 start 回车启动就好了,就可以使用 mock 数据进行登录

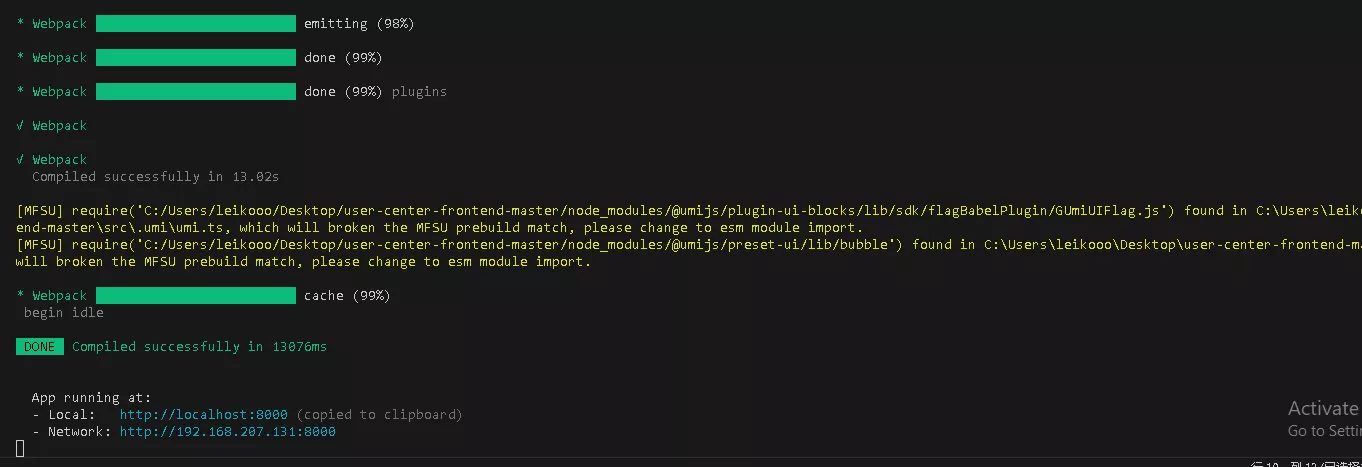
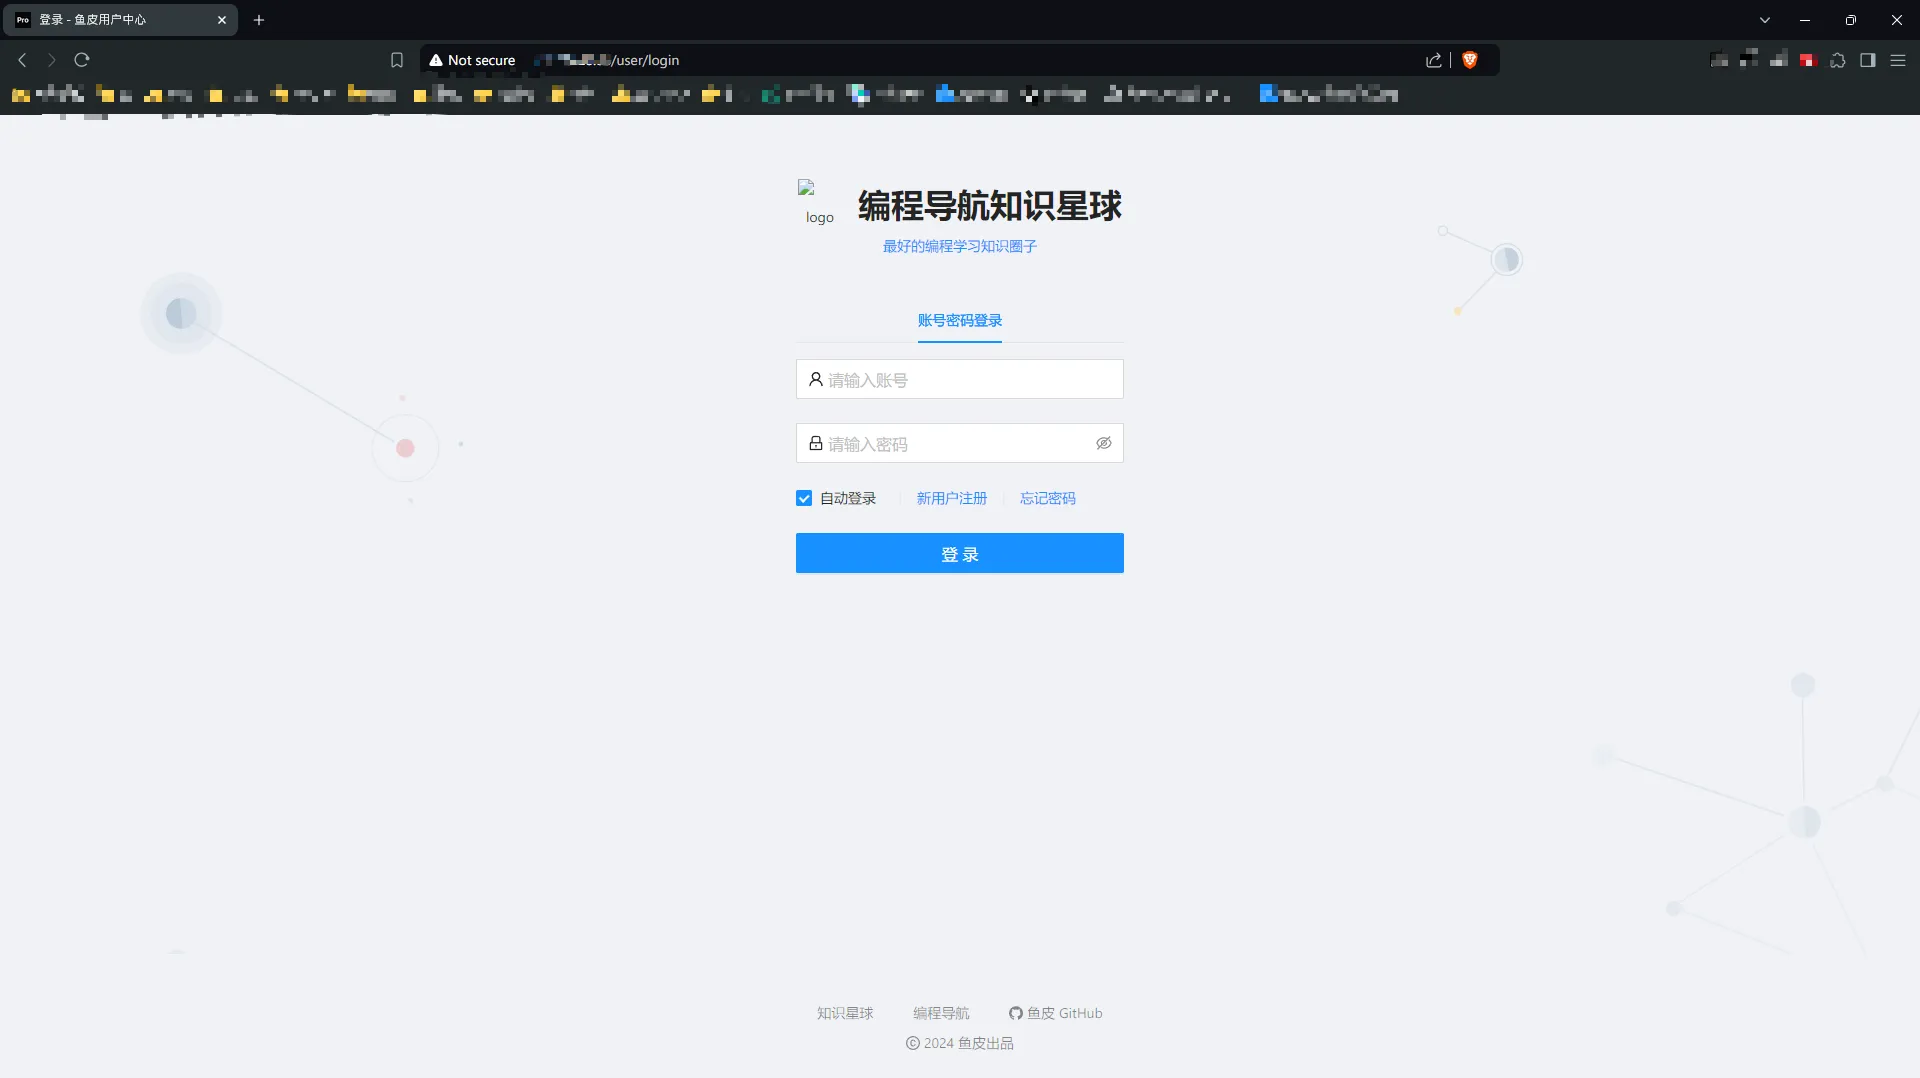
正常效果如图:
只要能正常打开,就成功了!(PS 第一次进入需要加载一会不用担心)

关闭直接在 终端 下输入 快捷键 Ctrl + C 之后会弹出一个是否确定的提示 输入 y 即可推出

所以为什么是这些命令?
答:因为根目录下面的一个叫 package.json 的文件夹里面都有写
{
  "name": "ant-design-pro",
  "version": "5.2.0",
  "private": true,
  "description": "An out-of-box UI solution for enterprise applications",
  "scripts": {
    "analyze": "cross-env ANALYZE=1 umi build",
    "build": "umi build",
    "deploy": "npm run build && npm run gh-pages",
    "dev": "npm run start:dev",
    "gh-pages": "gh-pages -d dist",
    "i18n-remove": "pro i18n-remove --locale=zh-CN --write",
  }
 }
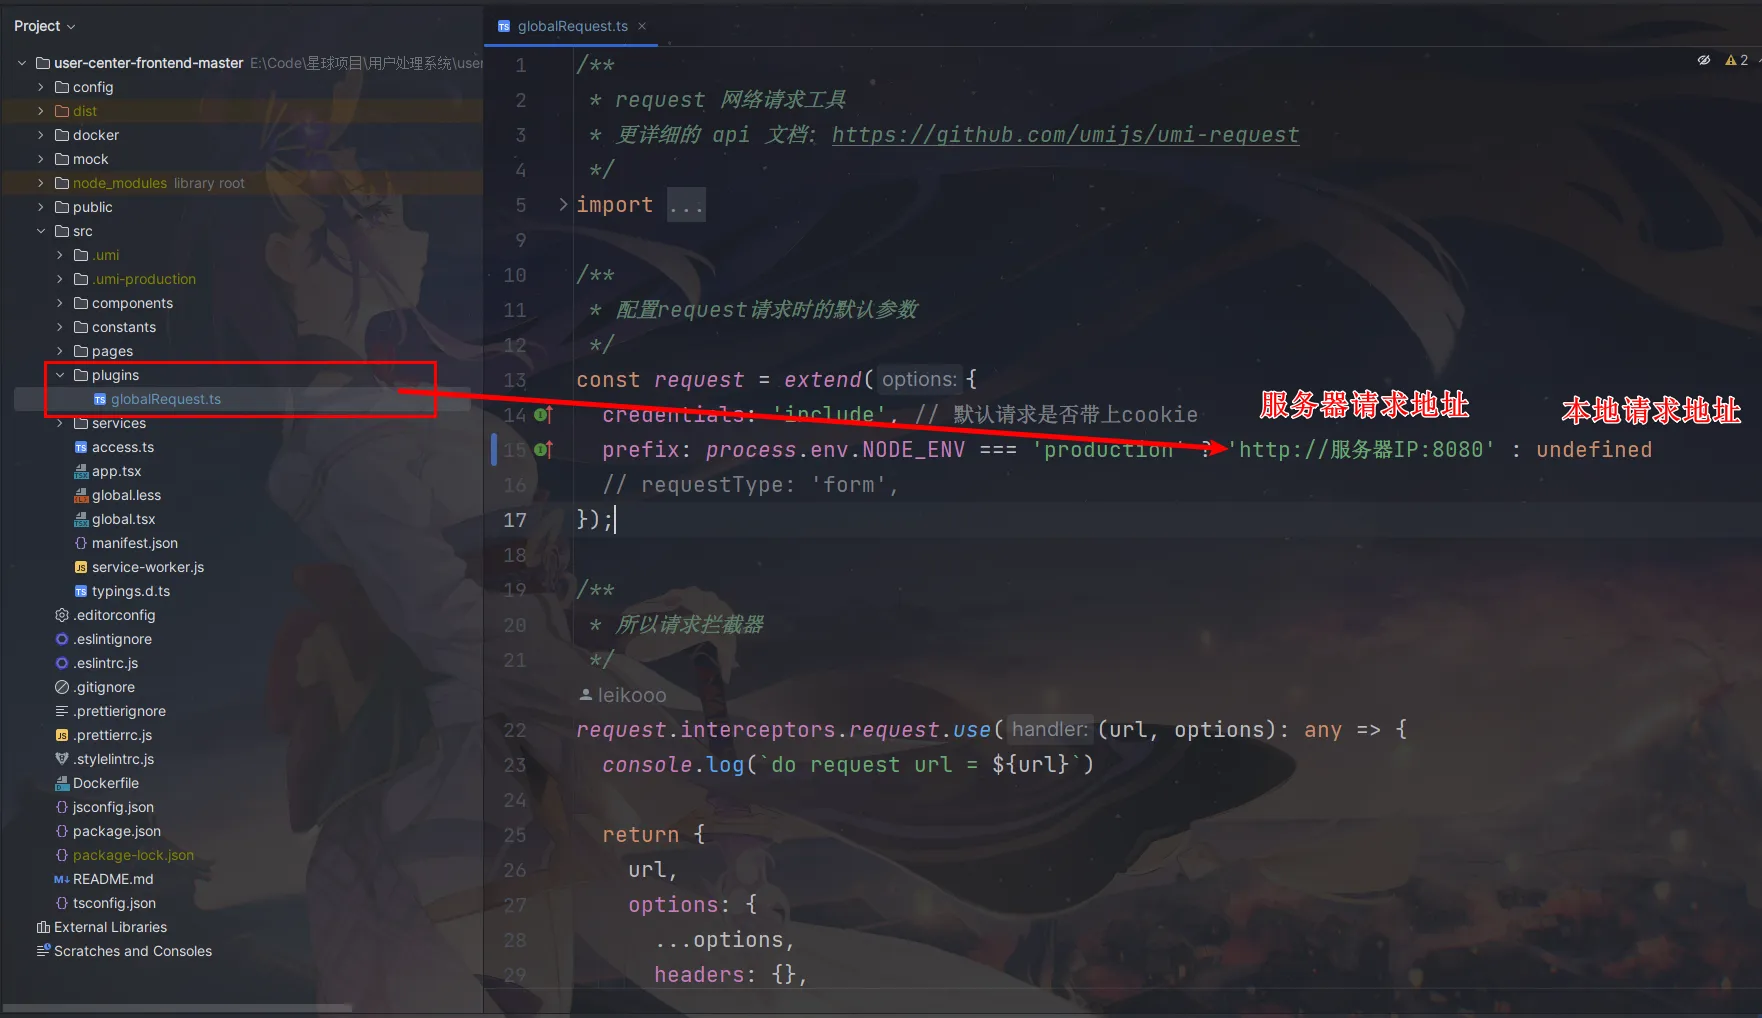
1. 修改前端请求后端地址
/**
 * 配置request请求时的默认参数
 */
const request = extend({
  credentials: 'include', // 默认请求是否带上cookie
  prefix: process.env.NODE_ENV === 'production' ? 'http://服务器IP:8080' : 'http://localhost:8080'
  // requestType: 'form',
});
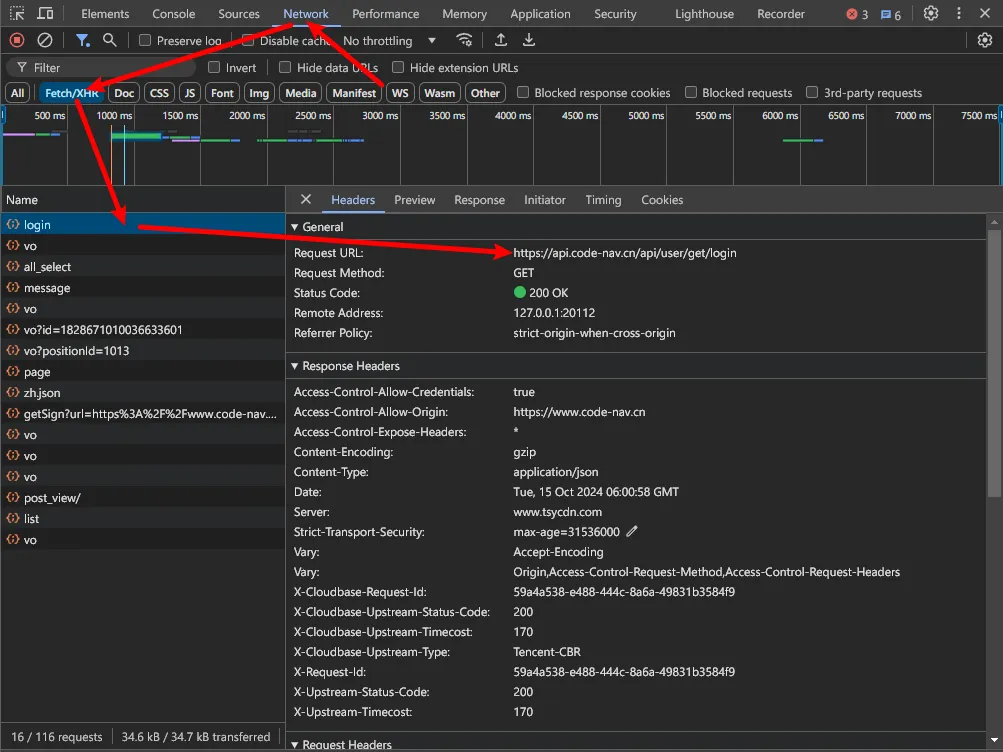
修改之后还是报错的话,查看 F12 的网络请求 + 后端报错排查问题所在
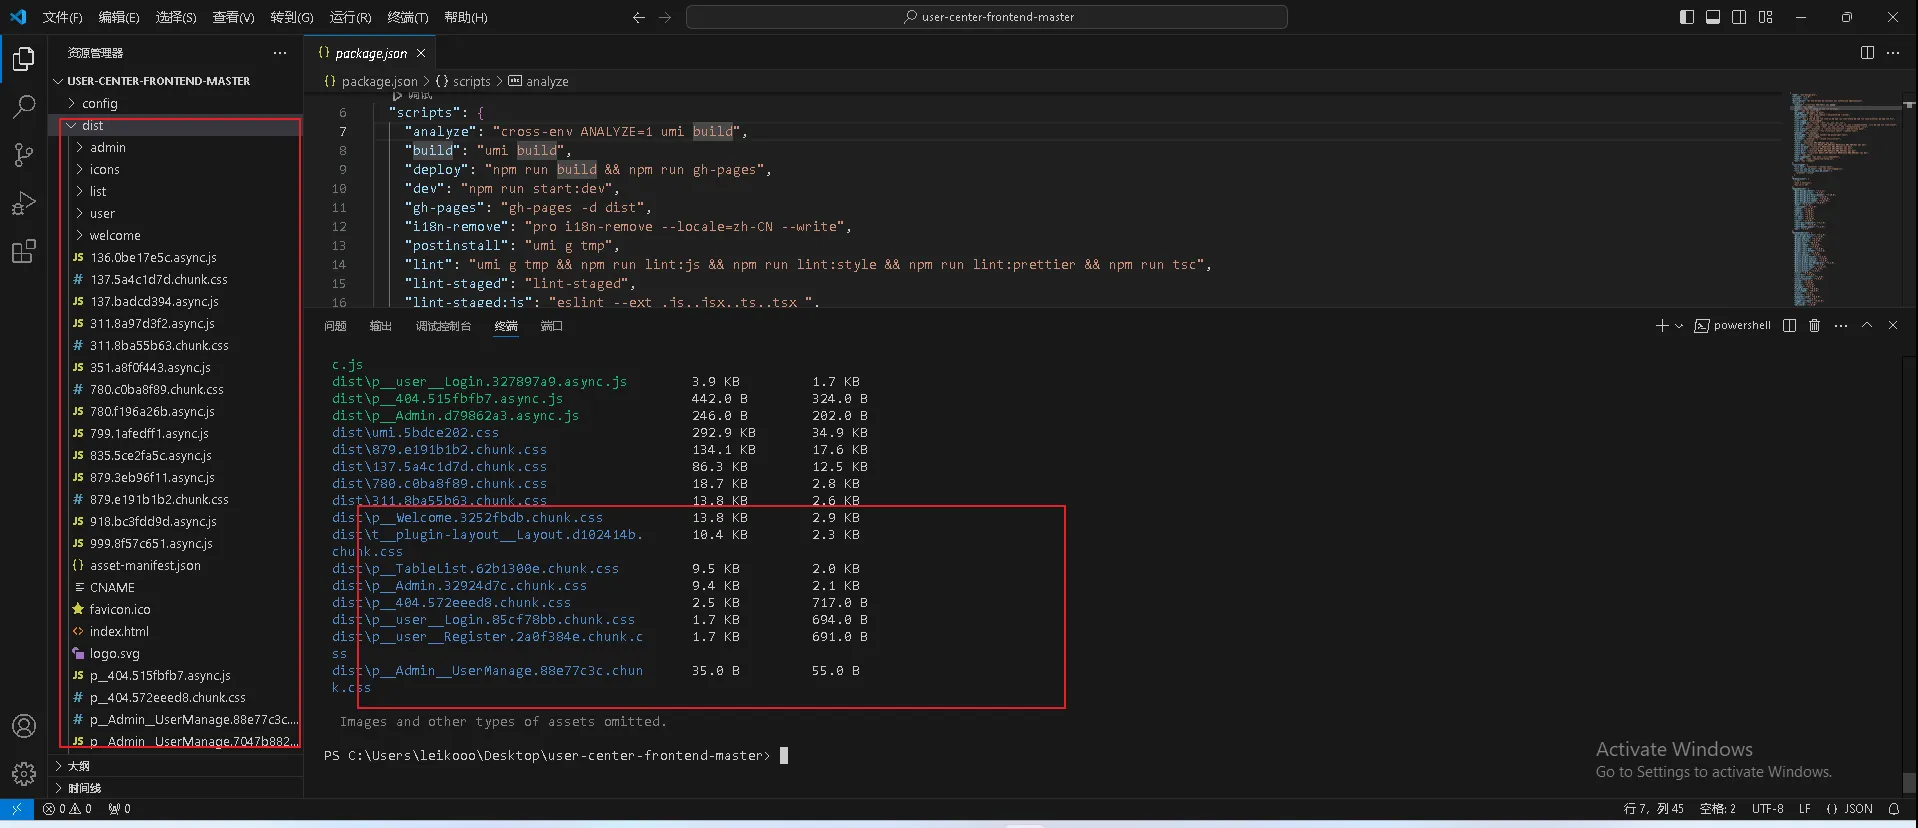
4. 前端打包
在终端下执行
npm run build
执行完成之后会在项目根目录,多一个 dist 文件,里面的文件全部打包上传到服务器上就可以访问到了
5. 部署
1、使用 宝塔 面板
2、使用原生 Nginx 部署
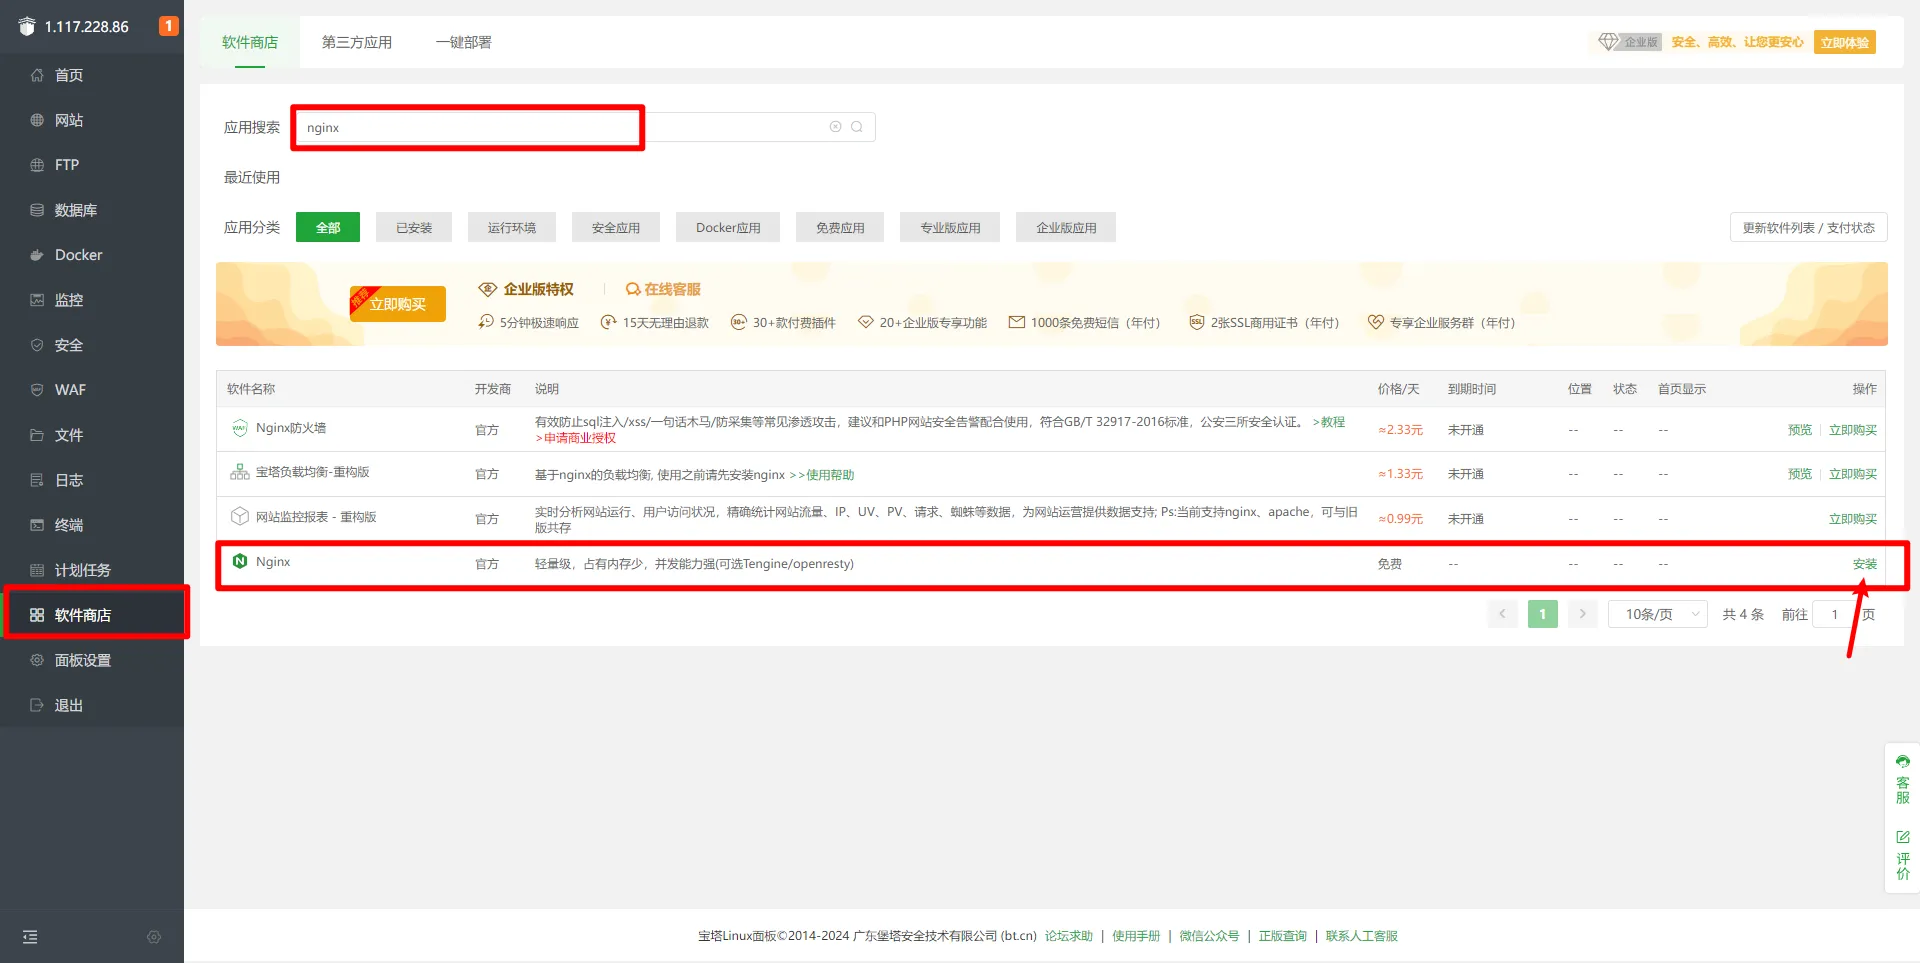
1. 宝塔面板
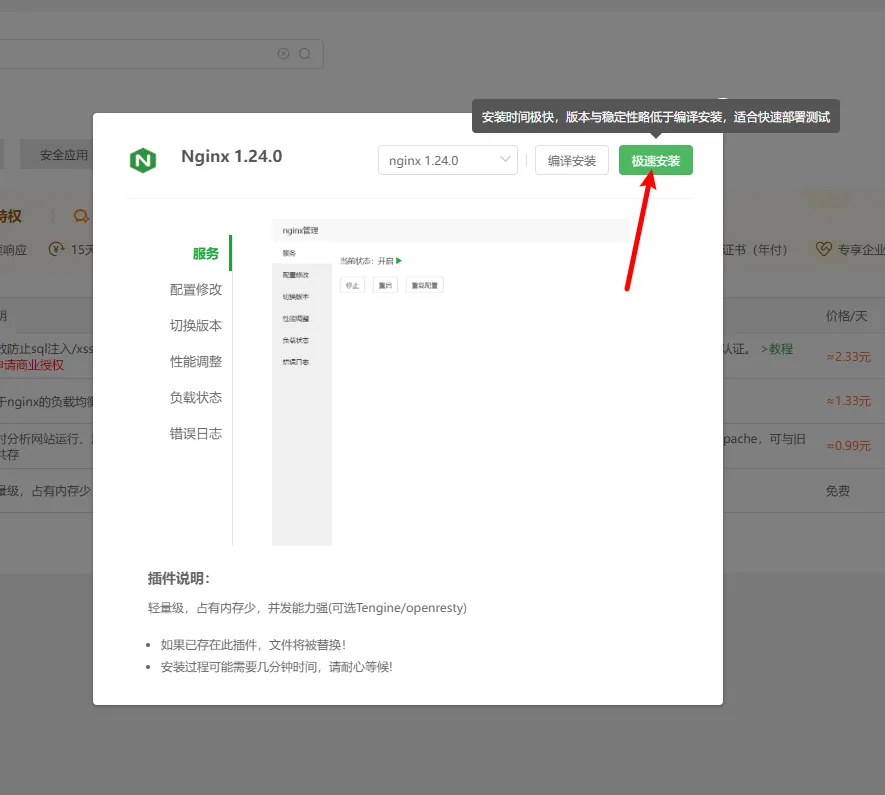
1、安装 Nginx
2、创建前端项目
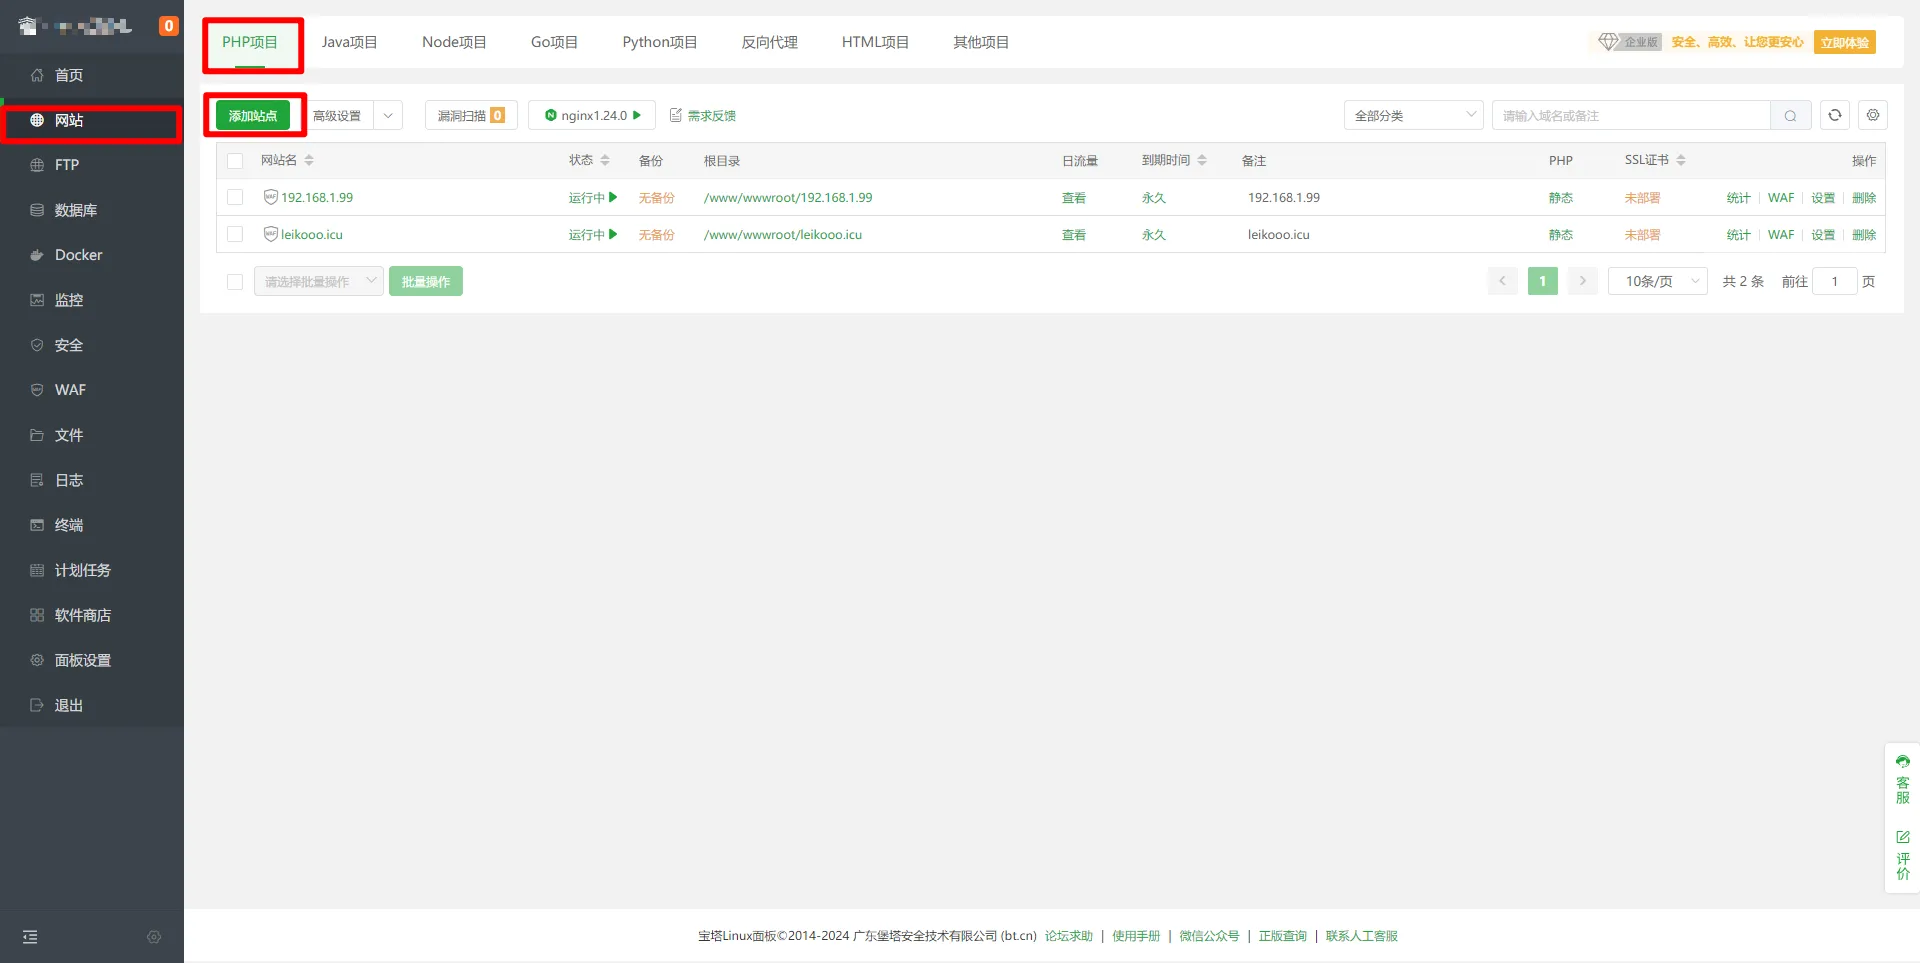
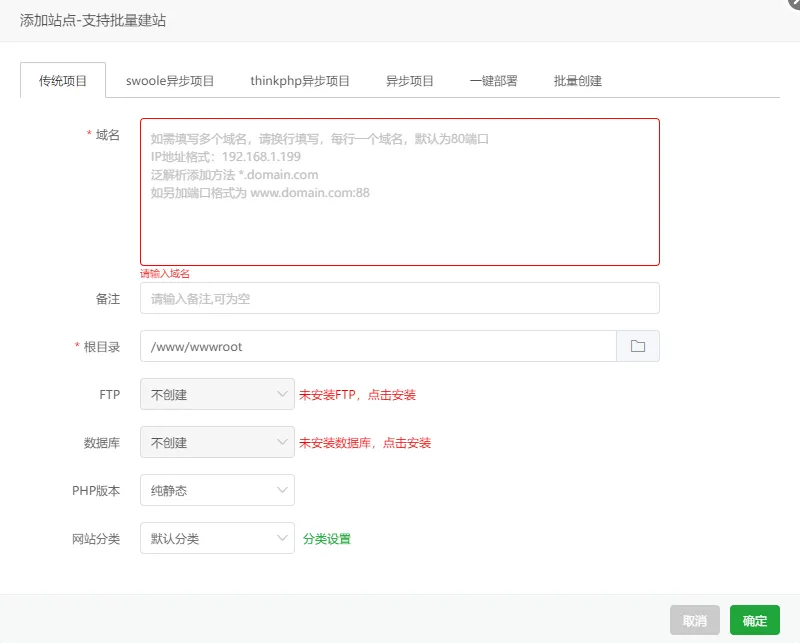
填写服务器的 IP 默认 80 端口不用写,但是如果想要使用其他端口就写成 IP:90
也可以写域名 比如 xdsx.icu 未写端口默认 80 。
比如,你服务器的 IP 是 192.168.1.1 那么你在上面的 域名 可以写 192.168.1.1 当然这样写法其实等价于 192.168.1.1:80
3、创建之后打开项目的目录

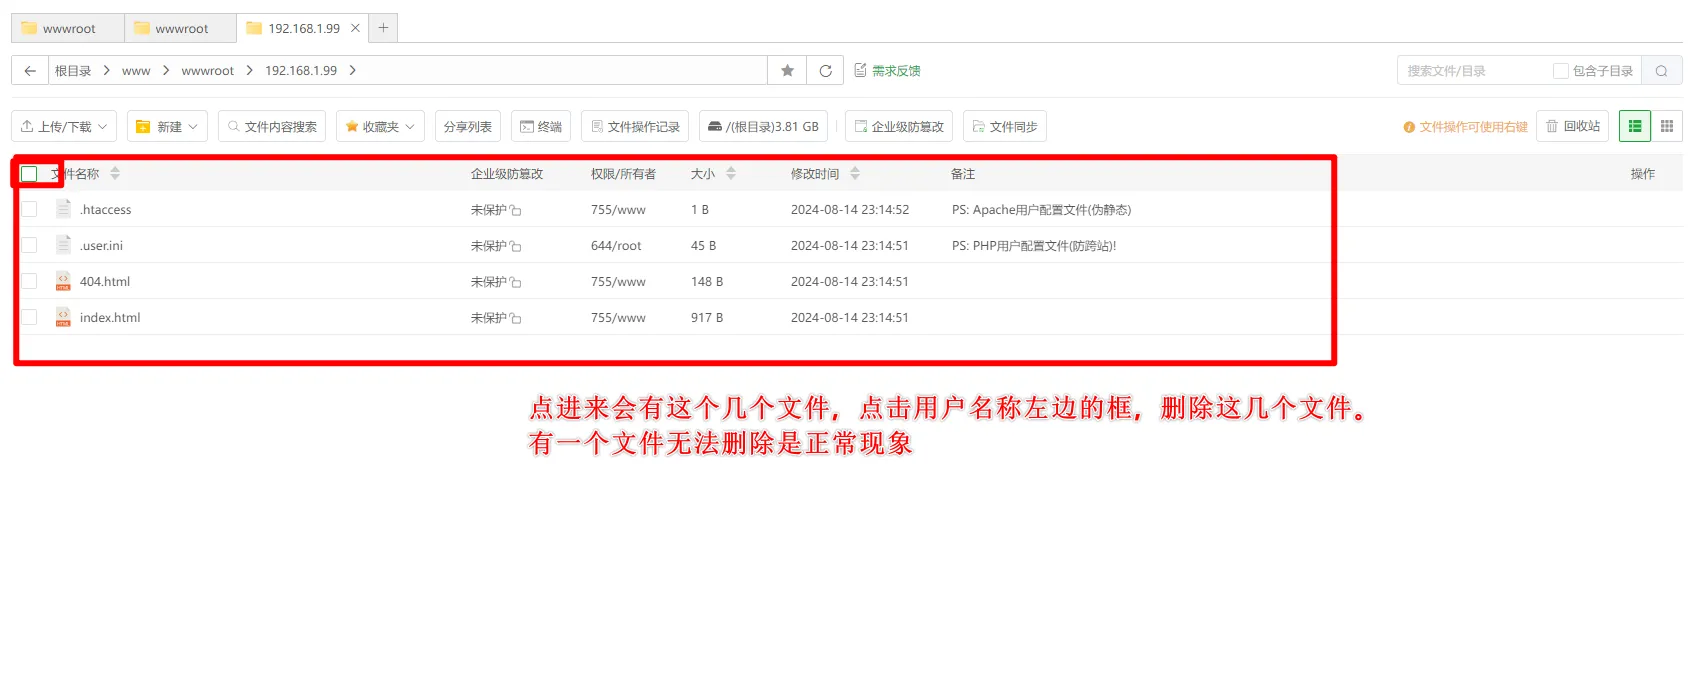
不能删除的文件是 .user.ini 正常现象!
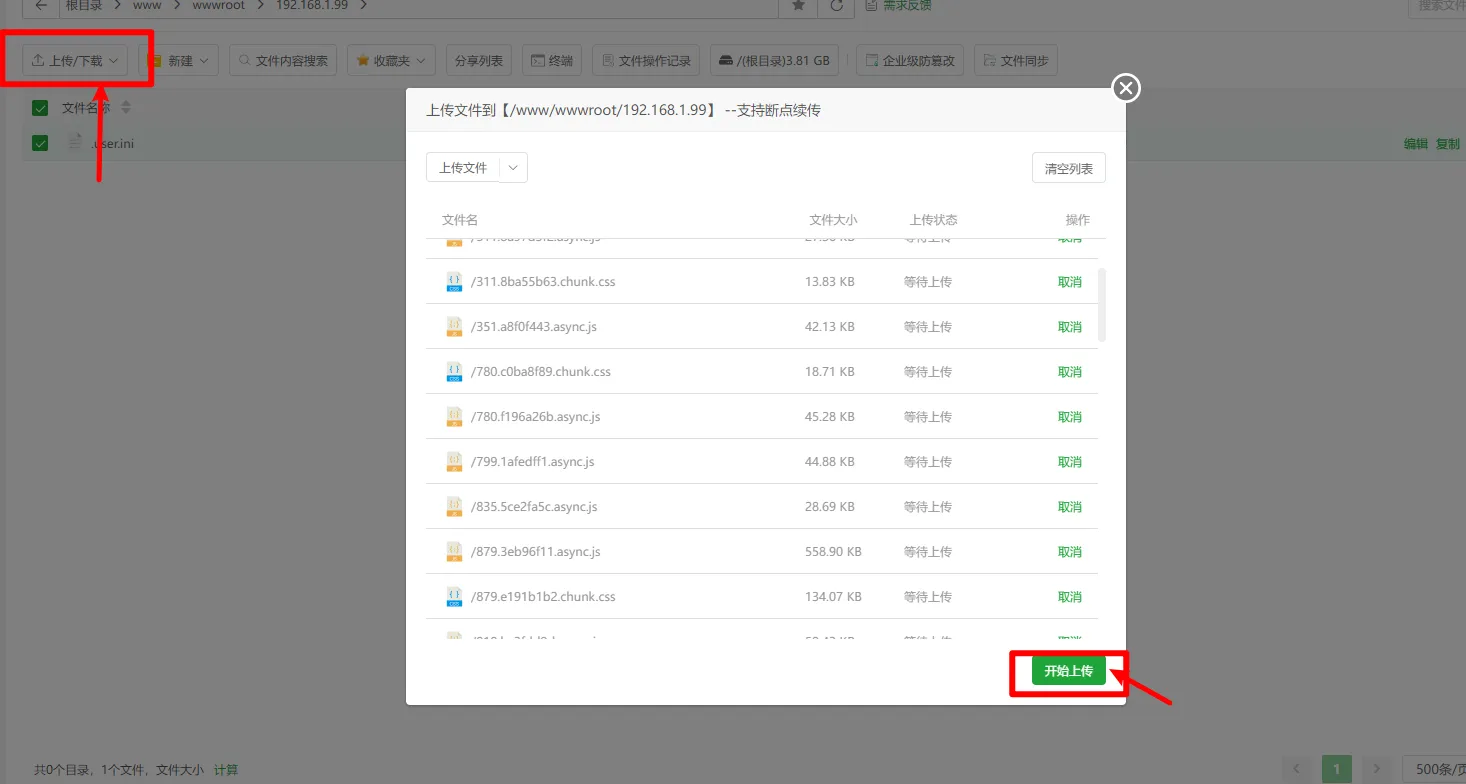
让后把 dist 目录的全部文件上传到服务器上的这个目录!
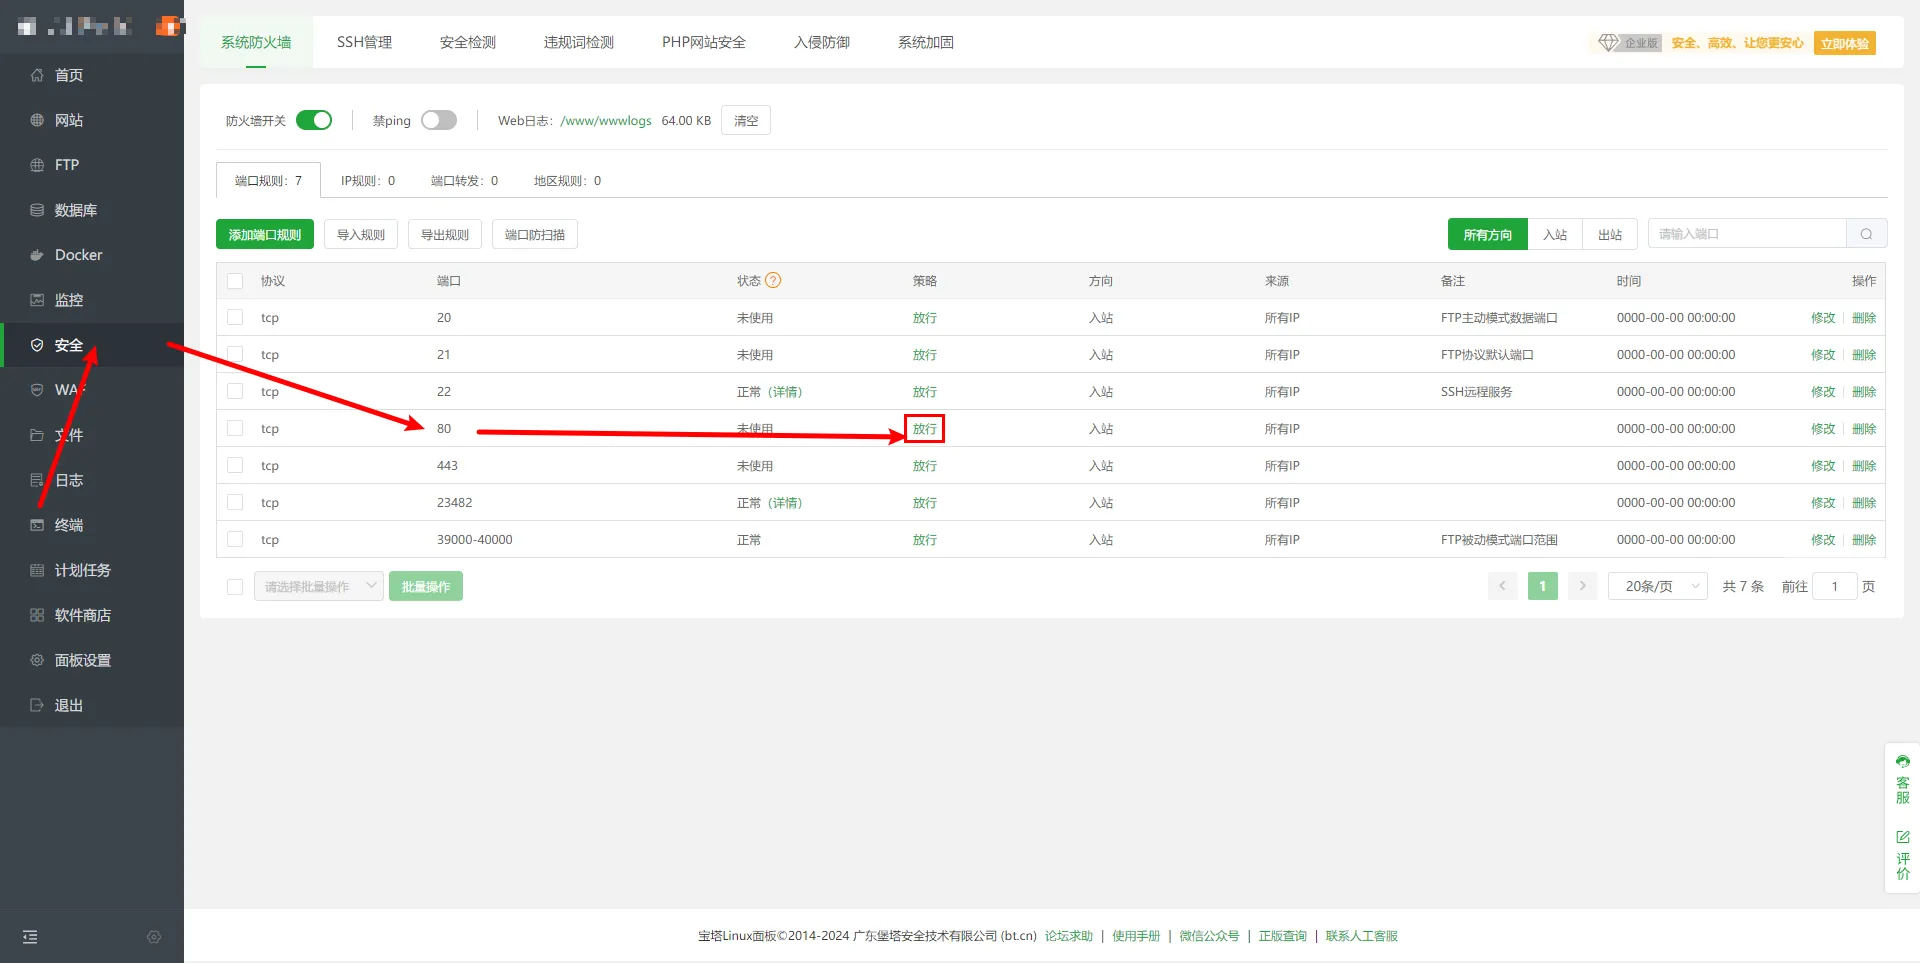
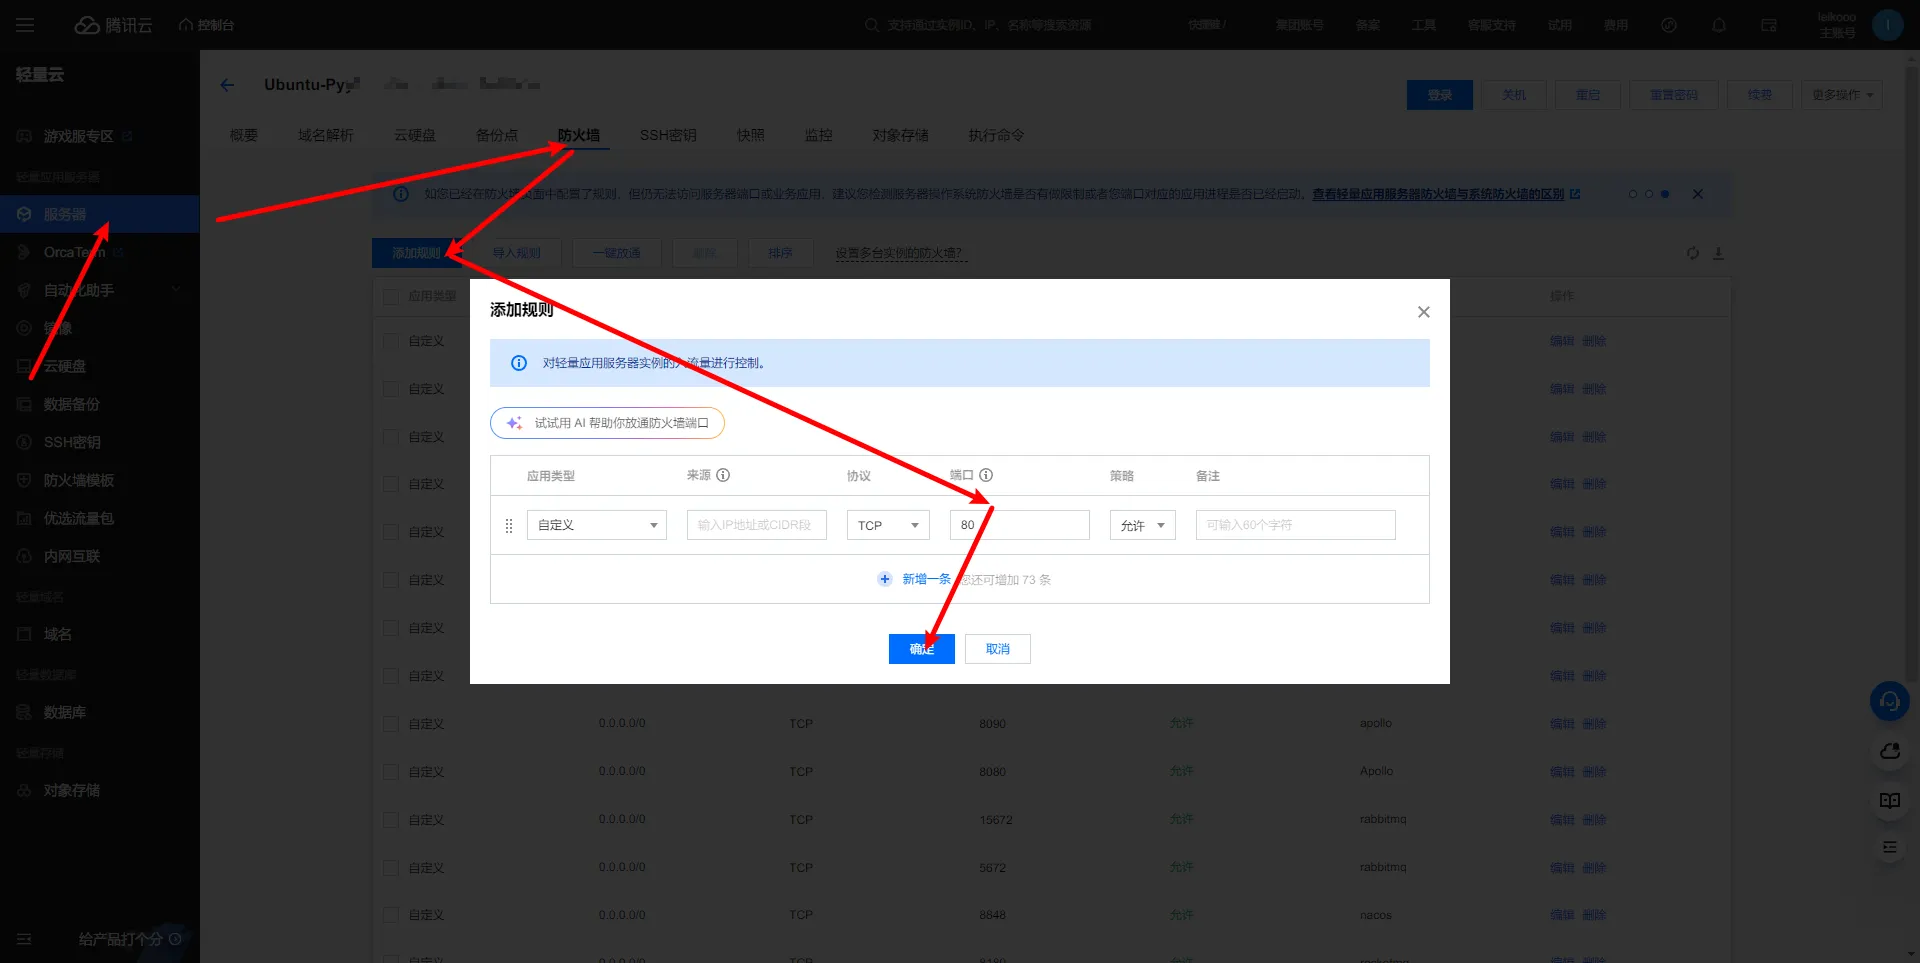
4、放行对应的端口
1)服务器端口(腾讯云演示)

2)宝塔端口

5、输入你服务器的 IP (或者你设置到上面 域名 )进行访问
6、访问成功!!!
2. 原生服务器部署
首先需要安装 Nginx 教程:https://www.code-nav.cn/post/1824822454893486081
上传工具:winscp 或者其他的能上传到服务器文件的工具都可以(当然也可以 rz 命令上传)
1、先切换到工作目录
cd ~
2、创建一个文件夹
mkdir -p project/fronted
3、查看 nginx 的配置文件的位置

4、修改配置文件
vi /usr/local/nginx/conf/nginx.conf
配置文件
#user  nobody;
worker_processes  1;

#error_log  logs/error.log;
#error_log  logs/error.log  notice;
#error_log  logs/error.log  info;

#pid        logs/nginx.pid;


events {
    worker_connections  1024;
}


http {
    include       mime.types;
    default_type  application/octet-stream;

    #log_format  main  '$remote_addr - $remote_user [$time_local] "$request" '
    #                  '$status $body_bytes_sent "$http_referer" '
    #                  '"$http_user_agent" "$http_x_forwarded_for"';

    #access_log  logs/access.log  main;

    sendfile        on;
    #tcp_nopush     on;

    #keepalive_timeout  0;
    keepalive_timeout  65;

    # 开启之后访问速度会变快
    #gzip  on;

    server {
        listen       前端运行端口;
        server_name  localhost;
		root 前端项目地址;
        location / {
            index  index.html index.htm;
            try_files $uri $uri/ /index.html;
        }
    }

}
5、更新 nginx 配置文件
nginx -s reload
6、放行服务器端口
6. Bug
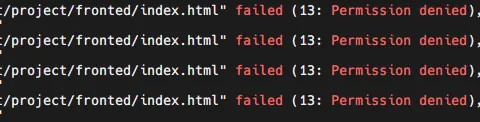
按照上述流程走完之后发现报错 2024/08/21 16:39:25 [crit] 7653#0: *830 stat() "/root/project/fronted/index.html" failed (13: Permission denied), client: 42.100.136.105, server
解决方法
修改配置文件顶部的 user 选项,然后重新启动即可 nginx -s reload
user root;