01-vue-proj
1. 培训大纲
2. 新建vue项目
- 在目标目录打开终端
vue init webpack my-project- 回车默认操作
npm installnpm run devnpm i element-ui -S(没网也可以安装)
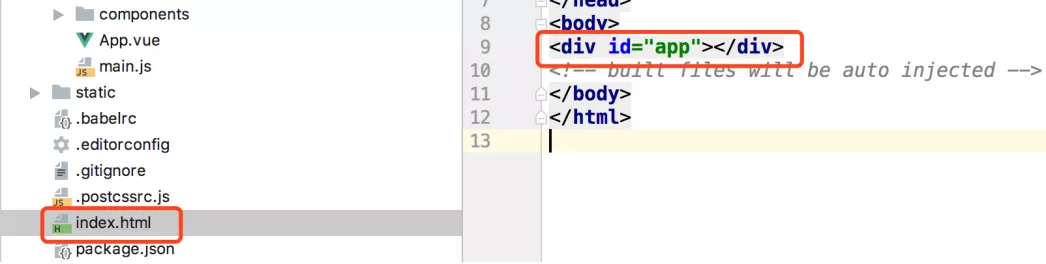
- 新建vue入口文件:
index.html - demo在
public文件夹下index.html
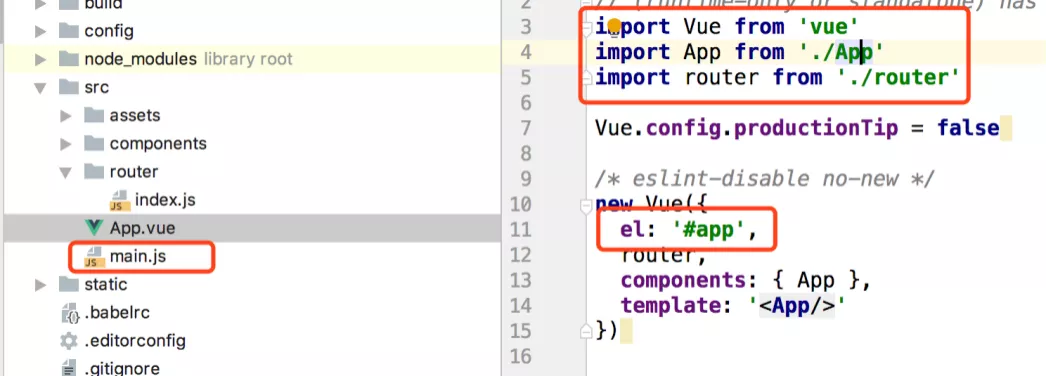
- intention actions直接导入
main.js
// The Vue build version to load with the `import` command
// (runtime-only or standalone) has been set in webpack.base.conf with an alias.
import Vue from 'vue'
import App from './App'
import router from './router'
import ElementUI from 'element-ui'
import 'element-ui/lib/theme-chalk/index.css'

Vue.use(ElementUI)

Vue.config.productionTip = false

/* eslint-disable no-new */
new Vue({
  el: '#app',
  router,
  components: { App },
  template: '<App/>'
})
npm i element-ui -S没报错就是安装成功了- 每个新建的项目用
element-ui都需要重新安装
3. vue + element + admin
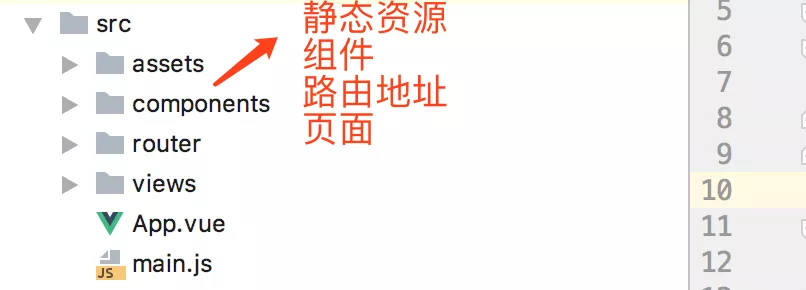
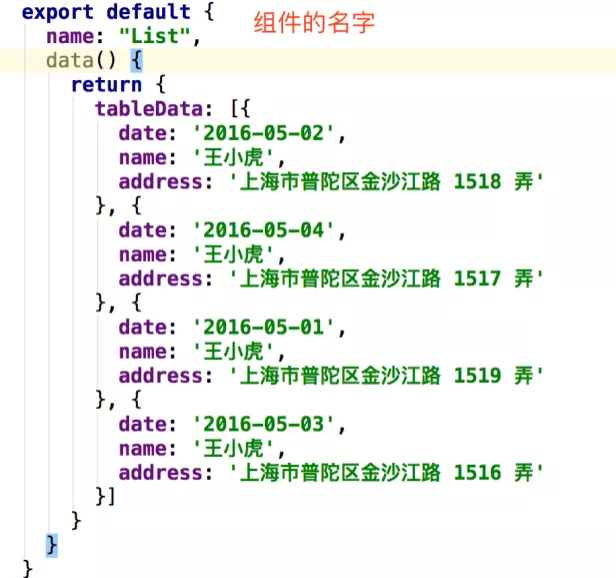
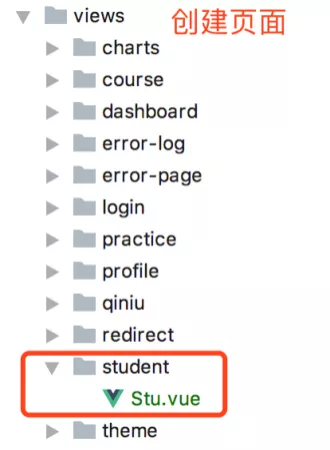
1. 创建vue页面
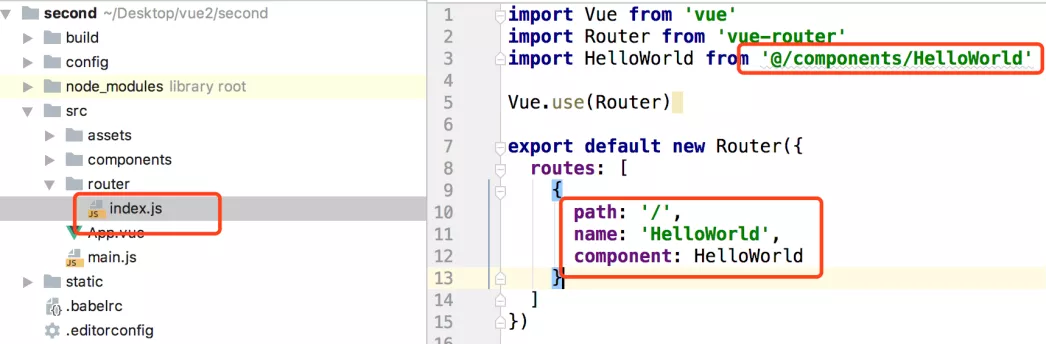
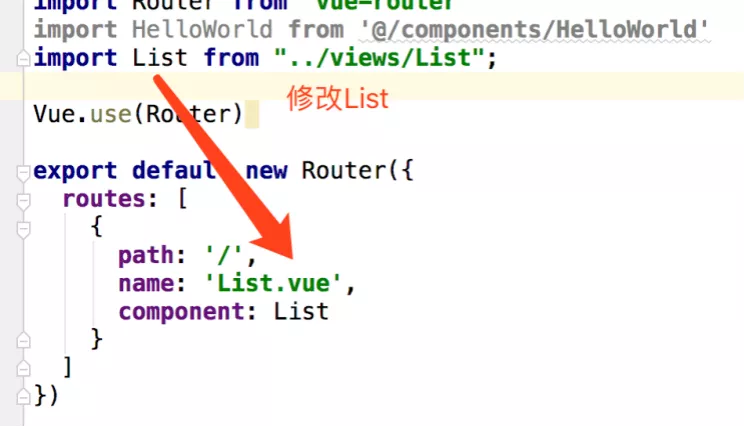
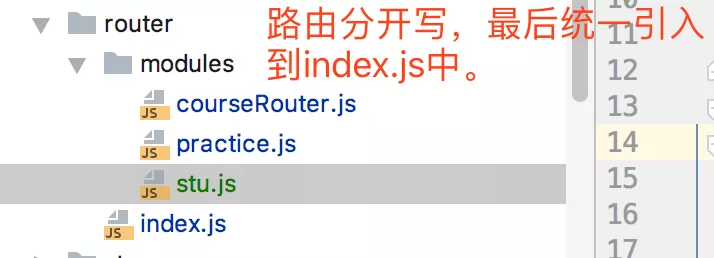
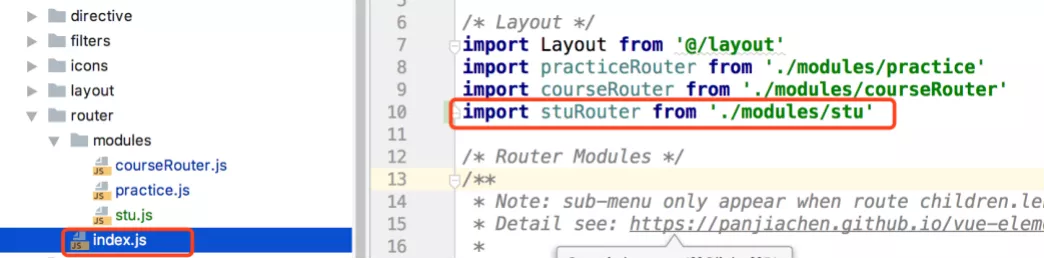
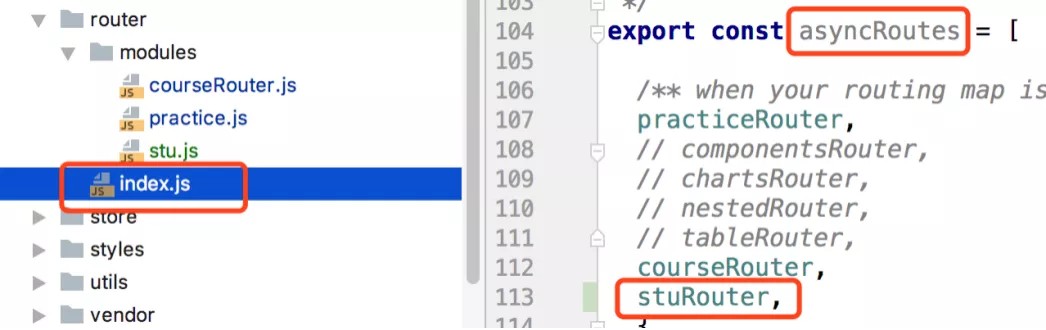
2. 添加路由
- 相当于右边菜单栏
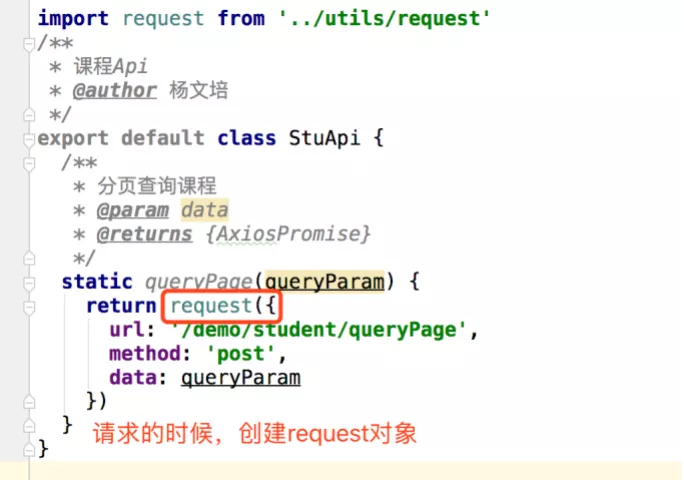
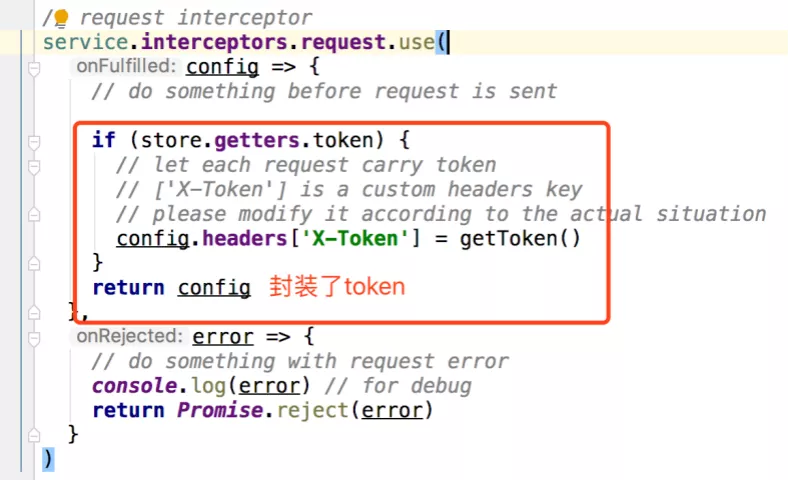
3. 创建api
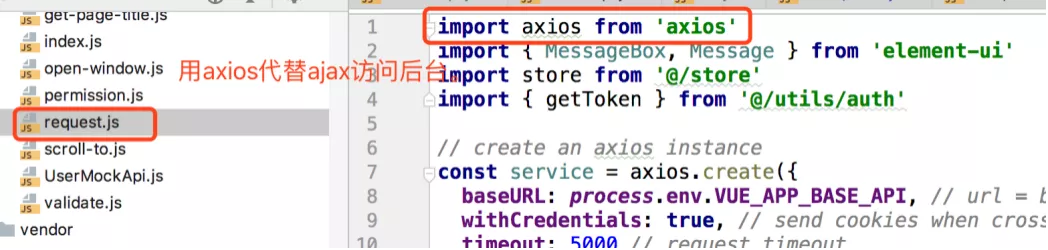
- 请求的时候,加入token
- 返回的时候也可以将错误提示信息进行拦截,并进行重新显示
4. 定义的变量
data() {
  return {
    定义的变量
  }
}
1. Object.assign
- 添加 | 新增
- 浅谈Object.assign
var target  = {a: 1}; // 目标对象
var source1 = {b: 2}; // 源对象1
var source2 = {c: 3}; // 源对象2
var source3 = {c: 4}; // 源对象3,和source2中的对象有同名属性c
Object.assign(target, source1, source2, source3);
// 结果如下:
// {a:1, b:2, c:4}
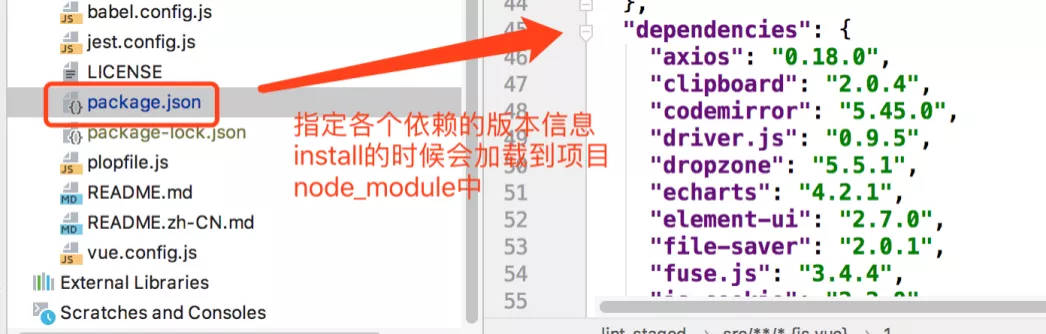
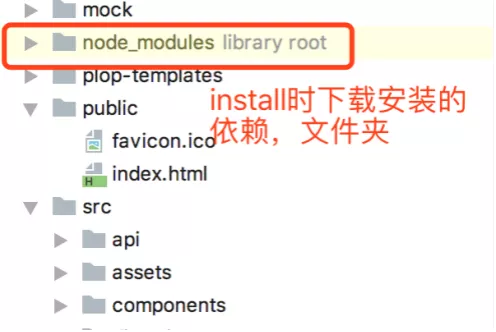
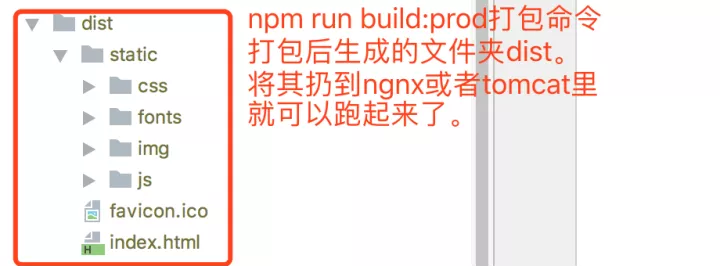
2. 打包
5. Element UI
1. <el-select>获取label
<el-select ref="ooxxSelRef" v-model="row.ooxxId" @change="ooxxSelChange" filterable
           placeholder="请选择">
  <el-option
      v-for="item in ooxxSelOpt"
      :key="item.newooxxcode"
      :label="item.ooxxname"
      :value="item.newooxxcode">
  </el-option>
</el-select>
1. 遍历
- 选择select中的对象
- vue---el-select的change事件获取对象的多个值
/**
 * 业务场景变化时触发
 */
ooxxSelChange(value) {
  let obj = {}
  obj = this.ooxxSelOpt.find(function (item) {
    return item.newooxxcode === value
  })
  this.row.ooxxName = obj.ooxxname
}
2. selectedLabel
this.row.ooxxName = this.$refs.ooxxSelRef.selectedLabel
2. <el-tree>
1. 滚动条问题
<div v-show="isCollapse" :style="{margin:'20px 0 0 24px',height: treeHeight}">
  <el-scrollbar style="height:100%;margin-bottom: 20px;">
    <el-tree
        ref="menuTreeRef"
        :load="appTree"
        :props="appProps"
        :expand-on-click-node="false"
        highlight-current
        node-key="id"
        :filter-node-method="filterNode"
        @node-click="handleNodeClick"
        lazy
    />
  </el-scrollbar>
</div>
<style scoped>
/*
 * el-tree-node变为行内块级元素
 */
.el-tree > .el-tree-node {
  min-width: 100%;
  display: inline-block;
}
/*
 * 避免滚动条盖住树节点
 */
/deep/ .el-tree-node__label {
  padding-right: 30px;
}

.el-scrollbar .el-scrollbar__wrap {
  overflow-x: hidden;
}
</style>
2. /deep/用法
3. <el-table>
<el-table
    ref="postTableRef2"
    :data="postRowList2"
    border
    stripe
    :height="300"
    row-key="id"
    :row-class-name="tableRowClassName"
    @row-click="singleSelectHandle2"
>
tableRowClassName({row, rowIndex}) {
  row.index = rowIndex;
},

singleSelectHandle2(row, column, event) {
  console.log(row)
  this.postRowList2.splice(row.index, 1)
},
6. Syntax
1. 空的判断
// '', null, undefined 全打印alert()
if (!this.condition) {
    alert("condition")
}

condition: '',
condition: null,
condition: undefined
7. vue_dev
1. {ob: observer}取值问题
- 因为vue是双向绑定,所以会产生这样的对象
- tree节点的子节点被加载进去了,再去取子节点的node值,就没有问题
resolve(res.data)
this.treeNode = node.childNodes[0]
2. setCurrentRow
<el-button size="small" @click="setCurrentRow()">重 置</el-button>
- 下面是等价的
<el-button size="small" @click="setCurrentRow($event)">重 置</el-button>

<el-button size="small" @click="setCurrentRow">重 置</el-button>
setCurrentRow当然没有传参,也没有括号,默认传$event对象
3. 单选表格
<el-button @click="setCurrent(tableData[1])">选中第二行</el-button>
<el-button @click="setCurrent">取消选择</el-button>
setCurrent(row) {
    this.$refs.singleTable.setCurrentRow(row);
}
- 当方法传值的时候,会选中row对应的行
setCurrent不传值的时候,默认传$event,即为取消选择
4. async-await
async声明一个异步方法,await异步方法中的同步逻辑
async queryPage3(queryParam3) {
  this.membersLoading = true
  await UserApi.pageQueryMembers(queryParam3).then(res => {
    this.membersRowList = res.data.list
    this.queryParam3.pageInfo = res.data
    this.membersLoading = false
  }).catch(err => {
    console.log(err)
  })
},
.then来进行queryPage3异步方法执行后,要执行的程序
this.queryPage3(this.queryParam3).then(res => {
    this.$refs.multipleTable3Ref.setCurrentRow(event)
})
5. <el-tooltip>动态提示
<el-tooltip class="item" effect="dark" placement="top-start">
<div slot="content">
  {{ scope.row.loginName }}
</div>
<el-button
    size="mini"
    type="primary"
    icon="el-icon-umbrella"
    @click="tmoKeyCompanyImport(scope)"
/>
</el-tooltip>